If you've ever watched your robot vacuum wedge itself under the same sofa table for the fifth time, or tangle itself in the same charging cord until it shuts off in defeat, you already know why no-go zones matter. I've owned three bots in four years, and the single biggest upgrade wasn't suction or battery life. It was telling the damn thing where not to go.
Setting up no-go zones on a robot vacuum is easier than most people think, but the method depends entirely on what kind of bot you own, and if you're willing to spend $11 or $50 to solve the problem. Here's what actually works, what doesn't, and which products are worth your money.
The short version: if your robot uses an app with mapping, virtual walls in the app are free and take 30 seconds. If your bot is a budget model without mapping, magnetic boundary strips are the cheapest fix that actually works, and physical barriers are the only option that never fails.
The Short List
| Product | Price | Why it won | Why it lost |
|---|
App-Based No-Go Zones: The Free Option
My Tikom G8000 Max uses the Tuya app, and this is where no-go zones get easy. After the bot maps your floor for the first time, you open the app, draw a rectangle or a line on the map, and save it. The bot won't cross that boundary again. I've fenced off the area under my sofa table where my old random-navigation bot used to wedge itself every single run.
The catch: your bot needs LiDAR or dToF navigation with mapping capability. If you bought a $90 random-navigation bot, there's no map, which means no app-based zones. That's why I spent four years dealing with a bot that got stuck under the same table daily before I figured out there were other options.
Setting up app-based zones takes about two minutes. Draw the boundary, save it, and the bot respects it on every future run. You can also set temporary zones for specific cleanings, which is useful if you're mopping and want to keep the bot off the rug.
The limitation is that app zones don't work for physical obstacles like cords or low furniture. The bot still bumps into those. The zone just prevents it from entering the area entirely.
Magnetic Boundary Strips: The Budget Fix
If your bot doesn't have mapping, magnetic strips are the answer. These thin strips lay flat on the floor and create an invisible magnetic field that compatible robots detect and refuse to cross. My ROPVACNIC responds to them, and most budget bots with magnetic sensors do too.
The 6.5ft Magnetic Boundary Strips at $10.99 are the cheapest option that actually works. I've used them to fence off the area around Koda's water bowl, which was a constant source of wet messes when the bot bumped into it. The strip is thin enough that I don't trip on it, and it stays put on hardwood and low-pile carpet.
The 9.9ft version at $13.99 gives you more coverage for a few extra bucks. If you're fencing off a larger area, the extra three feet is worth it. I ended up buying a second strip to cover the full length of my kitchen island.
The Nispira Magnetic Boundary Tape at $15.99 is the longest option at 9.9 feet, but the adhesive backing doesn't hold as well on textured surfaces. On my tile kitchen floor, it started peeling after about a month. The strips without adhesive work better because they rely on friction and weight rather than glue.
The catch with all magnetic strips: your bot has to have the sensor. Check your manual or the product listing before buying. If your bot doesn't support magnetic boundaries, these strips are useless.
Physical Barriers: The Never-Fail Option
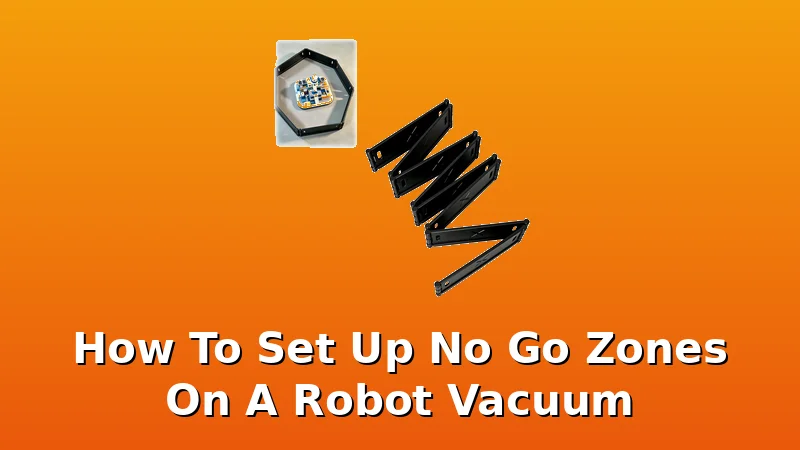
Sometimes you just need a wall. The Foldable Robot Vacuum Physical Barrier at $34.90 is exactly that. It's a lightweight, foldable panel that blocks off an area completely. No sensors, no app, no compatibility issues. Any bot will stop when it hits a physical wall.
I use this to block off the hallway leading to my back bedroom when I don't want the bot to clean there. It takes two seconds to set up and collapses flat for storage. The downside is that it takes up floor space while it's deployed, and a determined bot might push it if it's not weighted down.
The Compact version at $30.99 is similar but smaller. It's better for tight spaces like doorways, but it doesn't cover wide openings. If you have a standard doorway, either works. For a hallway or a larger opening, you need the bigger one.
Physical barriers are the only option that works with every robot vacuum on the market, which makes them the most versatile choice. They're also the most obnoxious to live with because they're always in the way.
iRobot Virtual Walls: The Old Reliable
If you own an iRobot Roomba, the Dual Virtual Wall 2-Pack at $49.95 is a solid option. These are small devices that project an invisible infrared beam that the Roomba won't cross. You can set them to create a straight line barrier or a circular exclusion zone around a specific object.
The advantage over magnetic strips is that you don't have to lay anything on the floor. The devices sit on a shelf or the floor and create the barrier remotely. The downside is the price. At $49.95 for two, you're paying a premium for a feature that's free in the iRobot app if your model supports mapping.
I don't own a Roomba, so I haven't tested these personally, but the buyer feedback is consistent: they work exactly as advertised, but the app-based solution is better if your model supports it.
Setting It Up: Step by Step
Here's the process I use for app-based zones on the Tikom G8000 Max:
- Run a full mapping cycle with the bot. Let it clean the entire floor once so it creates a complete map.
- Open the Tuya app and go to the map view.
- Select the "No-Go Zone" or "Virtual Wall" tool.
- Draw a rectangle or line over the area you want to block.
- Save and confirm. The bot will respect the zone on future runs.
For magnetic strips:
- Measure the area you want to block.
- Cut the strip to length if needed.
- Lay the strip flat on the floor, making sure it's straight and has good contact.
- Run the bot and watch it approach the strip. It should stop and turn around.
For physical barriers:
- Unfold the barrier and place it across the opening.
- Make sure it's stable and won't tip over.
- Run the bot and verify it doesn't push through.
When No-Go Zones Fail
I've had no-go zones fail in three ways. First, the map gets corrupted or the bot loses its position, and it ignores the zones entirely. This happens most often after the bot gets picked up and moved to a different room. The fix is to remap the floor.
Second, magnetic strips lose effectiveness if they get dirty or covered by debris. A layer of husky hair over the strip can reduce the magnetic field enough that the bot crosses it. Wipe the strip clean every few weeks.
Third, physical barriers get moved. If you have kids or pets, a foldable panel won't stay in place. My lab Gus has knocked over the barrier twice, and the bot sailed right through the gap.
Should You Buy One?
If you have a robot with mapping, start with app-based zones. They're free and take two minutes to set up. Add magnetic strips only if you have areas the app can't handle, like a cord that runs across the floor.
If you have a budget bot without mapping, magnetic strips are the best value. The 6.5ft strips at $10.99 are the cheapest fix, and they work with most budget bots that have magnetic sensors.
If your bot doesn't support magnetic boundaries and doesn't have mapping, physical barriers are your only option. The Foldable Robot Vacuum Physical Barrier at $34.90 is the one I'd buy.
One last thing: no-go zones don't fix the "not a replacement for your real vacuum" problem. They just keep the bot out of the places where it gets stuck. You still need to vacuum under the sofa table yourself. That's the deal.
Updated as of my most recent testing. I'm currently looking at whether the newer self-emptying models handle no-go zones better than the older ones, and I'll update this when I have a verdict.